- Web templates
- E-commerce Templates
- CMS & Blog Templates
- Facebook Templates
- Website Builders
WordPress Blogging themes. How to change featured image dimensions
December 12, 2016
This tutorial shows you how to change featured images dimensions on the single post in WordPress Blogging templates.
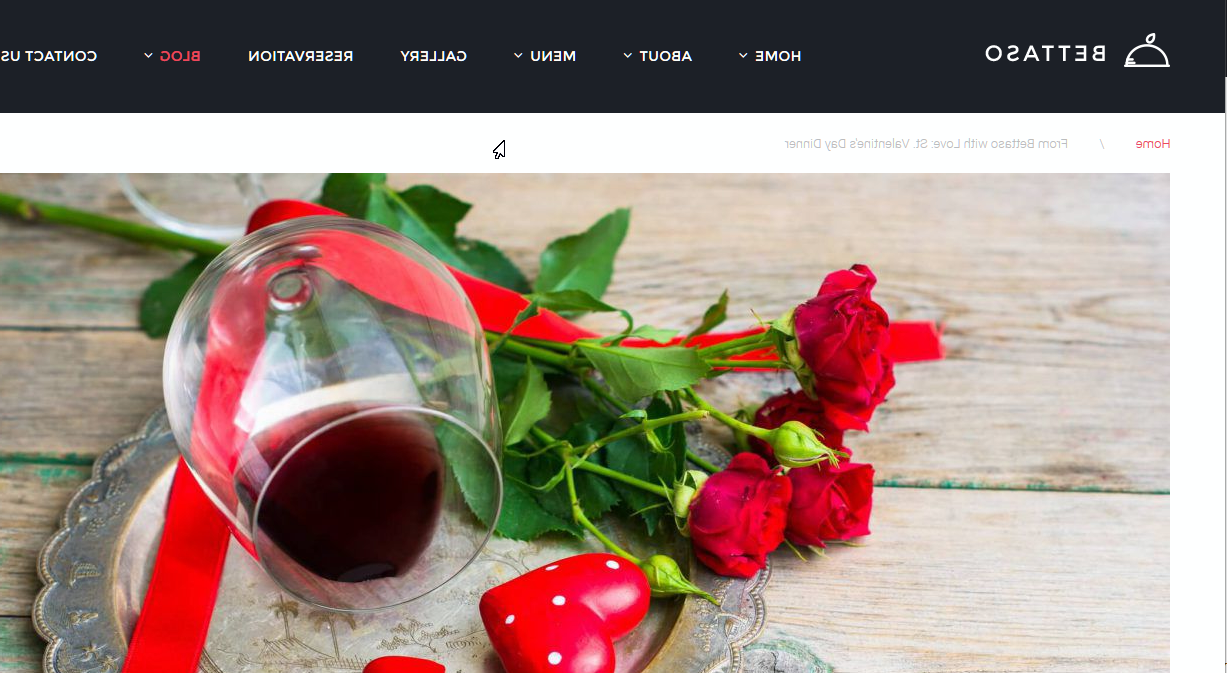
Each single post has a featured image:

We will learn how to change its dimensions.
-
Log into WordPress Admin Panel and go to the Appearance -> Editor section. Open style.css file under the activated theme – in this case, it’s Bettaso theme.

Add the following css rule to the bottom of this style.css file:
			.single .post-thumbnail__img {
			width: auto !important;
			}
and click on “Update File“.

-
Connect to your FTP or use hosting Cpanel File Manager. Follow this path: wp-content/themes/themename/config to locate thumbnails.php file.

Open it for editing. You will see the line of code for single post thumbnails. You just need to set the new dimensions here and save the file.

-
Go back to the WordPress Admin Panel and navigate to Posts -> All Posts. Open the post to re-upload the new featured image with new dimensions. Then “Update” the post.

-
Refresh the frontend of this single post to check the result.

Feel free to check the detailed video tutorial below:
WordPress Blogging themes. How to change featured image dimensionsIf you’re searching for more professional solutions to build a website, have a look at the Best WordPress Themes 2017.


.jpg)
